Image To
3d

Comparison guide

Which is the best image to 3d model ai for your work?

The best image to 3d model ai depends on what you need to do after generation. A convincing preview, an editable game asset and a printable object demand different things from a 3D model. Use your own reference image and intended output to judge the result.

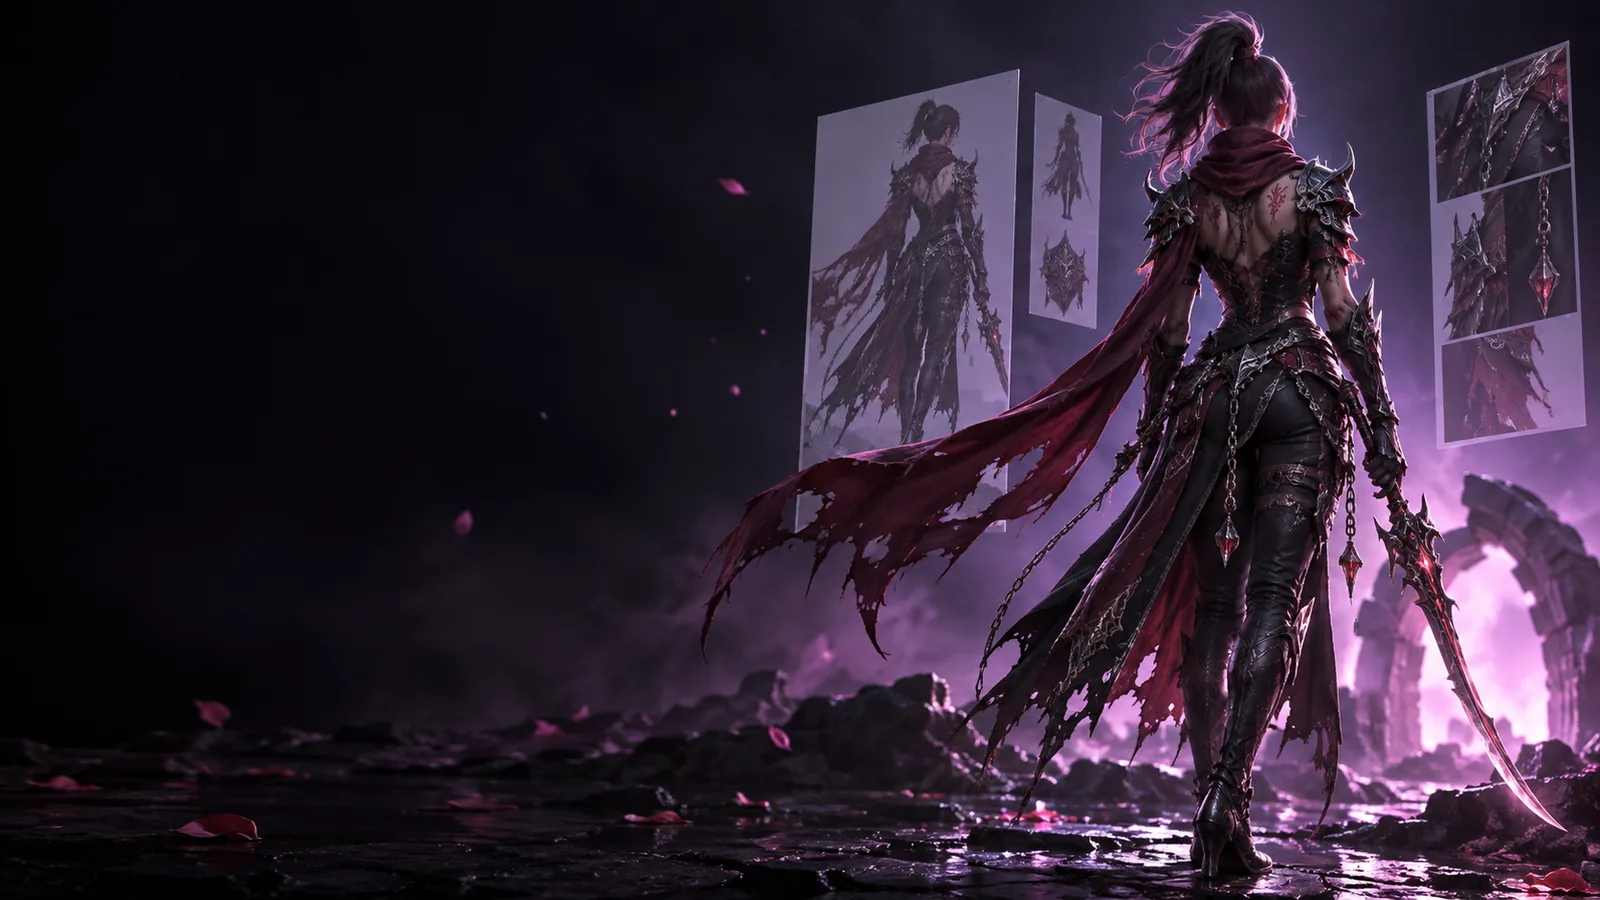
A reference image and a generated three-dimensional object

There is no defensible universal winner without a shared test image and a defined output. If appearance is the goal, judge the preview; if the mesh must leave the tool, inspect its geometry and export options.

Compare dimension by dimension

Test the same source image in every candidate tool. Change only one variable at a time, then inspect the actual model rather than relying on a promotional render.

  • Hidden surfaces are inferred

    A single image does not show the back, underside or concealed joints of an object. A plausible result may still invent details that conflict with the real subject, so visual similarity from the camera's original angle is not enough.

    WorkaroundRotate the result and check unseen areas against additional reference photos when accuracy matters.

  • A clean preview is not a clean mesh

    Lighting and texture can conceal stretched polygons, floating pieces or poorly defined edges. These defects matter when you rig, deform, simplify or modify the asset, even if a still image looks persuasive.

    WorkaroundInspect the wireframe and try one small edit in your intended 3D editor before committing to a workflow.

  • Export needs vary by project

    A result that works as a browser preview may not carry the geometry, scale, materials or file format your next application expects. No comparison can promise compatibility without checking the actual output.

    WorkaroundIdentify your destination application first, then test an exported model there rather than judging an on-page viewer alone.

  • Printable is a separate test

    An attractive digital asset may have open surfaces, intersecting parts or delicate features. Those issues can prevent slicing or produce a fragile print, regardless of how closely the render matches its reference.

    WorkaroundCheck whether the mesh is closed, set a physical scale and run it through your slicer before calling it print-ready.

Who each approach suits

Rather than ranking tools by a single image, match the evaluation to the person who will use the result.

  1. 1

    Visual explorers: judge the silhouette

    If you need a concept to discuss or a form to explore, begin with a clearly lit reference against an uncluttered background. Compare whether the overall proportions, distinctive details and recognizable outline survive from more than one viewing angle. Surface polish is useful, but it should not distract from an incorrect shape.

  2. 2

    Asset makers: inspect the handoff

    If the model must enter a scene or editing pipeline, make export behavior part of the test. Open the result in the application you already use, examine how surfaces and materials arrive, and attempt a small change. The strongest choice is the one that reduces repair work after generation, not necessarily the one with the prettiest first preview.

  3. 3

    Physical makers: check the mesh

    If your destination is a 3D printer, compare candidates on whether the resulting geometry can be scaled, repaired and sliced. Inspect thin projections and disconnected parts, then review a slicer preview before printing. A tool suited to concept imagery may still provide a useful starting shape, but the print preparation step remains your responsibility.

A migration path from preview to usable model

Start with a low-stakes reference, test the result in its destination, and move to a more specialized workflow when the first output cannot meet your requirements.

The product designer

You have one well-lit product photograph and need a shape for an early review. Generate a draft, rotate it to expose guessed surfaces, and mark any proportions that need correction before sharing it.

If the reverse side matters, collect additional views and compare a multiple-reference workflow rather than repeatedly regenerating from the same front-facing image.

multiple images to 3d model

The miniature maker

You want to turn character art into a small physical object. Treat the first model as a sculpting starting point; check detached details, support-sensitive shapes and the final size in a slicer.

Move to a print-focused evaluation when a model looks right on screen but fails a mesh check or contains features too delicate for your intended scale.

best image to 3d model ai for 3d printing

The first-time creator

You are unsure what a usable input looks like. Try a single, distinct object with visible edges before attempting a crowded scene or an object partly hidden by its surroundings.

Compare example references and outputs to decide whether a weak result comes from the source image, the tool's interpretation or a mismatch between the preview and your intended use.

image to 3d model ai examples free

Put your own reference to the test

Make the comparison concrete

Image To 3d can help you move from reading about image-to-3D generation to testing a reference of your own. Choose an image with a clear subject, examine the model from several sides and check it in the application where you plan to use it. Keep the original image nearby so you can distinguish faithful details from plausible guesses.

Test an image
  • Judge shape from multiple angles
  • Check the output in its destination
  • Allow time for mesh cleanup

Comparison FAQ

The answer depends on whether you need a convincing concept, an editable asset or a model you can prepare for printing. Test candidates with the same reference image, then inspect the geometry and handoff in your intended application. A strong result for one use may require too much cleanup for another.

Rotate the model to inspect surfaces the original photo could not show. Look for coherent geometry, separated details that should be connected, and whether the exported output works in your next application. For a physical object, also check scale and mesh integrity in a slicer.

One image leaves hidden surfaces unknown, so a generated model must infer them. It can make a plausible object, but that is not the same as documenting the real object's unseen geometry. If those details matter, gather more reference views and verify the result manually.

Not necessarily. Texture and lighting can make an awkward mesh look polished in a preview, while the exported geometry may still need cleanup. Check the specific operations you plan to perform, such as reshaping, placing the asset in a scene or preparing it for print.

Create a 3D model
Create a 3D model