Prop sketcher
You have a clean drawing of one object and want to test whether its silhouette reads in 3D.
Assess the overall volume first; refine small details only if the shape works.
image to 3d model ai examples freeQuick conversion
Start with a clear picture of one object and see how it translates into a 3D concept. You can begin here without creating an Image To 3d account; check any requirements shown after the handoff.
The difference is where you begin: with a prepared reference and a low-friction trial, or with broader guidance on image-to-model conversion.
A quick entry point removes preparation friction, not the uncertainties of reconstructing depth from a flat picture.
A single photo does not show the back, underside, or parts blocked by other objects. An image to 3d model ai result may infer those areas incorrectly.
WorkaroundInspect the model from every side and add reference views when the destination supports them.
You can start from this page without an Image To 3d account, but the destination may set its own access conditions before conversion or export.
WorkaroundReview the destination's current requirements before uploading a sensitive image.
Thin parts, holes, and overlapping objects may become fused or uneven geometry. A convincing preview does not establish that the model is ready for printing or animation.
WorkaroundCheck the mesh in a 3D editor and repair geometry for your intended use.
Keep the first attempt simple so you can tell whether the reference image or the generated geometry needs work.
Use a sharp image with even lighting and visible edges. Give the object room in the frame; busy backgrounds make its silhouette harder to interpret.
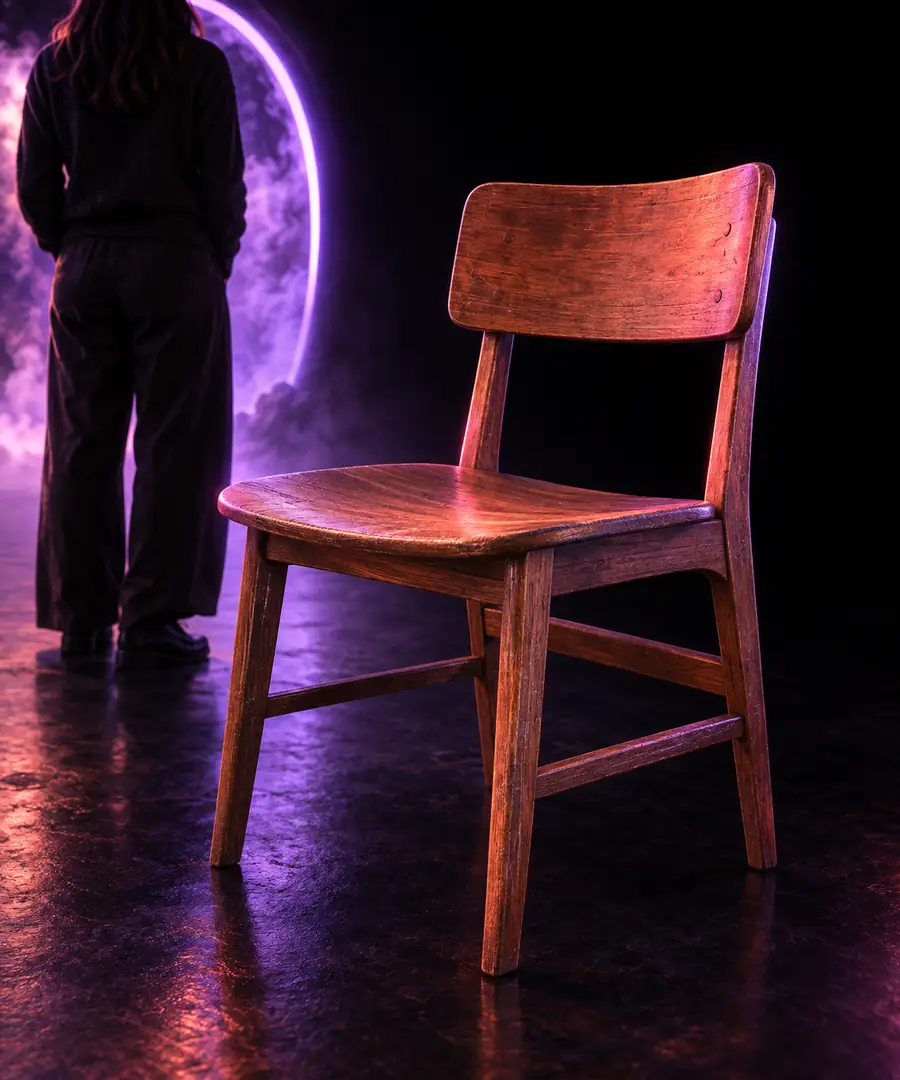
Name the object and the features that must survive conversion, such as a chair's separate legs. Continue to the tool and follow its image-input instructions.
Check depth, rear surfaces, thin features, and the outline before using the model elsewhere. If they fail, improve the reference or simplify the subject.
Treat the visual comparison as an illustration of the workflow, not a promise that every photograph produces the same geometry.
A flat reference shows only one view. Rotate any generated model to inspect areas the picture could not establish.
Quick entry point
General conversion workflow
Quick entry point
Bring one clear object image
General conversion workflow
Explore preparation and conversion options
Quick entry point
Not needed to begin here
General conversion workflow
Not needed to read the guidance
Quick entry point
Check after handoff
General conversion workflow
Check when choosing a tool
Quick entry point
Focus on one visible silhouette
General conversion workflow
Consider extra views for hidden geometry
Quick entry point
Inspect the first 3D concept
General conversion workflow
Evaluate the model against its final use
Quick entry point
A fast attempt still needs inspection
General conversion workflow
More planning takes time but clarifies requirements
Use a quick image to 3d model ai attempt to answer a narrow question before committing time to detailed modeling.
You have a clean drawing of one object and want to test whether its silhouette reads in 3D.
Assess the overall volume first; refine small details only if the shape works.
image to 3d model ai examples freeYou have a photograph of a physical object but no model to rotate for an early discussion.
Create a concept to inspect from new angles, then verify any unseen surfaces.
image to 3d model freeYou want to know whether a reference could become the basis for a physical prototype.
Use the initial shape to plan edits, not as proof of a watertight printable mesh.
best image to 3d model ai for 3d printingChoose one well-lit subject, state the features you need, and review the result from more than the camera angle. This route helps you begin without an Image To 3d account; confirm the destination's current access and export conditions before relying on it.
Convert my imageYes. You can prepare your image and begin from this page without an Image To 3d account. The destination handles the conversion and may have its own access requirements, so check them before proceeding.
No export entitlement is established by this entry point. Check the destination's current rules for generating, downloading, and using a model before you depend on a particular output.
Choose a sharp, evenly lit picture of one object with a clear outline. Avoid heavy occlusion and crowded backgrounds so you can judge whether the resulting shape matches the reference.
Not necessarily. The picture provides no direct evidence for surfaces it does not show, so the model may invent or flatten them. Rotate the result and revise it where those guesses matter.