For makers
Find the best image to 3d model ai for 3d printing
The best image to 3d model ai for 3d printing gives you a starting shape, not a guaranteed printable file. Use Image To 3d to explore the form, then inspect and prepare the mesh in your usual printing software.
the audience's existing pipeline
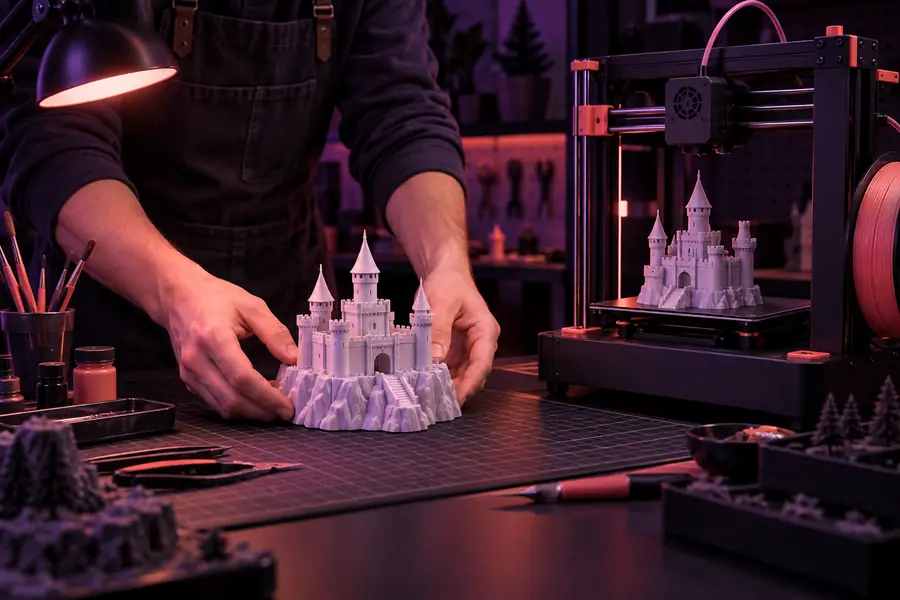
A typical printing project starts with a reference, moves through modeling and mesh repair, and ends with slicing. An image-derived draft can shorten the modeling stage, but it does not replace the checks on either side.
where we slot in
Treat image conversion as the draft stage between gathering references and preparing a file for the printer.
-
1
Choose a readable reference
Use a clear view with the intended object separated from its background. Show major protrusions rather than hiding them behind the main body. If you need accurate dimensions, record measurements separately; pixels alone cannot establish physical scale.
-
2
Generate and judge the form
Create an initial model and rotate it to inspect the unseen surfaces. Look for a coherent silhouette, connected parts, and enough thickness for features you intend to keep. Regenerate or edit obvious shape errors before spending time on print preparation.
-
3
Prepare a test print
In a mesh editor and slicer, set dimensions, check for open surfaces and intersecting shells, and decide whether the object needs a flat base or supports. Preview the sliced layers, then test a small version before relying on the full-size print.
before/after
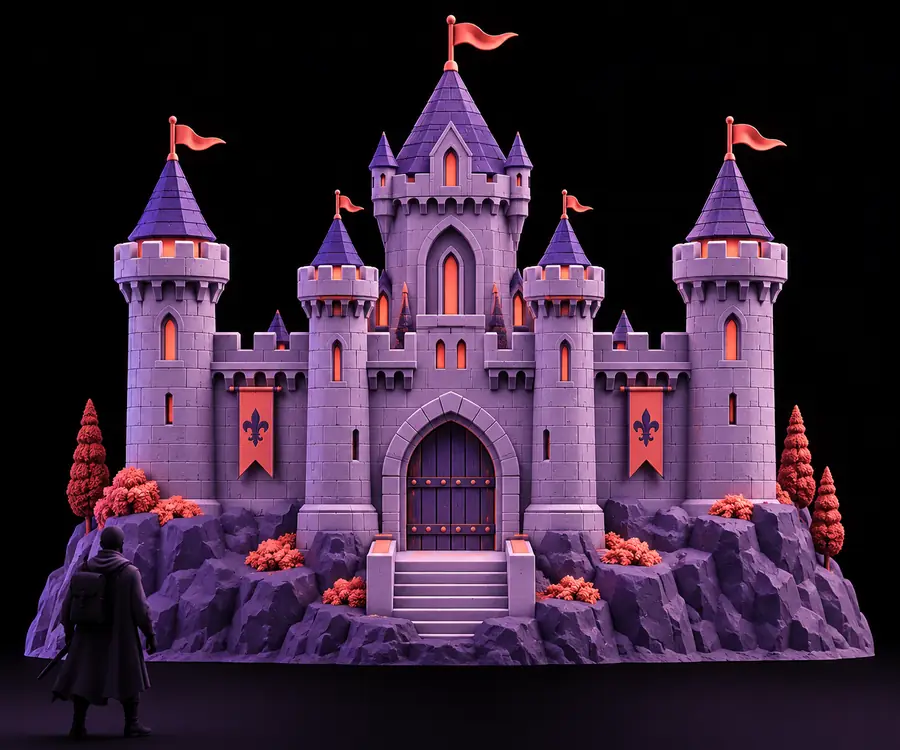
The useful transformation is from a visual reference to an editable 3D starting point—not directly from a photograph to a finished print.
- Reference image
- 3D concept
In the reference, a visible outline can suggest the intended front while leaving depth and rear geometry unspecified. The 3D concept makes those surfaces inspectable, but its appearance does not prove that its mesh is closed, correctly scaled, or printable. A slicer preview is the next meaningful before-and-after check.
deliverable spec
Judge the draft by what your downstream tools can verify. A convincing render and a printer-ready mesh are different deliverables.
-
No reliable real-world dimensions from one image
A picture does not tell the model whether an object should be a tiny charm or a large display piece. Even familiar objects may have distorted perspective.
WorkaroundMeasure a known feature, set the intended dimensions in your editor, and confirm them again in the slicer.
-
Hidden surfaces are inferred
The back, underside, and recessed areas may be guesses. A plausible-looking front can conceal gaps or unwanted geometry elsewhere.
WorkaroundRotate the draft, use additional reference views when available, and repair or remodel surfaces that matter to the print.
-
Fine details may not survive printing
Thin limbs, raised lettering, and tiny attachments can be too fragile or too small for the selected material and printer settings.
WorkaroundThicken or simplify vulnerable features, inspect the sliced layers, and test the smallest critical detail first.
-
A model preview is not mesh validation
The preview cannot establish that every surface is watertight, that separate pieces are connected, or that overhangs have adequate support.
WorkaroundRun mesh checks in your editing workflow and review supports, orientation, and layer previews in the slicer.
Continue with a test print
Start with the shape, then prove the print
Use Image To 3d to turn a clear reference into a 3D concept. Inspect the result from every side, make the necessary mesh edits, and let a small test print settle questions that a screen preview cannot.
Create 3D draft- Begin with a clearly outlined object
- Check scale and mesh integrity
- Preview layers before printing
scenario FAQ
A useful tool gives you a recognizable starting shape that you can inspect and refine. The best image to 3d model ai for 3d printing is therefore the one that fits your editing workflow, not simply the one with the most polished preview. You still need to check geometry and scale before slicing.
Sometimes, but do not assume the first result is ready for the printer. A single photo leaves the hidden side open to interpretation, and the resulting mesh may need repair, thickening, or a base. Inspect it from every angle and check it in your slicer first.
Choose a sharp image with a distinct silhouette and as little overlap between parts as possible. A front or three-quarter view can communicate the main shape, while additional views help clarify features hidden in the first image. Avoid relying on fine painted details to become physical relief.
Set the intended physical size, check for open or disconnected geometry, and examine thin areas. Then review orientation, supports, and every layer in a slicer preview. A small test print is the most direct way to catch issues that remain uncertain on screen.
No: an image alone does not provide dependable dimensions or reveal how perspective changed the object's proportions. Use measured references if fit or tolerances matter. Adjust the generated draft against those measurements before preparing the print.