Concept artist
You have a drawing of a prop and want to examine its volume from other angles.
Use the output as a visual draft, then correct its silhouette against the drawing.
image to 3d model ai examples freeBrowser workflow
Start with a clearly photographed object, then use Image To 3d to explore a 3D interpretation in your browser. A single picture can guide the visible shape, but you should inspect surfaces the camera could not see.
Use one well-lit image with the whole object in frame. A plain background and a three-quarter view make the silhouette and depth easier to interpret.
An online converter estimates depth from visible cues; it does not measure the object or reveal what is behind it.
A front view does not show the back, underside, or internal structure. Those areas may look plausible without matching the real object.
WorkaroundPhotograph the object from another angle if you need to verify its shape.
Thin handles, chair legs, wires, and narrow gaps can become thick or fused in a generated mesh.
WorkaroundChoose a sharper image with clear separation between parts, then inspect the mesh closely.
A photo alone gives no dependable physical scale, even when the model looks proportionally convincing.
WorkaroundMeasure the real object and set dimensions in your 3D editor before fabrication.
For a first browser-based attempt, use an ordinary object such as a chair rather than a reflective or partly obscured subject.
Pick a sharp three-quarter photo of the entire chair. Leave space around its edges so the legs and backrest are not cropped.
Specify the seat, separate legs, and upright backrest. Keep the request tied to visible features instead of asking the model to invent unseen details.
Rotate the output and check the underside, leg gaps, and rear supports. If a part has merged or disappeared, improve the reference before trying again.
An online conversion is useful for a quick starting shape. Manual modeling gives you more control when the unseen geometry or measurements matter.
Browser image conversion
Manual 3D modeling
Browser image conversion
A reference image and a short description
Manual 3D modeling
Reference images, measurements, and planned geometry
Browser image conversion
Estimated from the photo
Manual 3D modeling
Built deliberately by the modeler
Browser image conversion
Inferred rather than observed
Manual 3D modeling
Designed from additional references
Browser image conversion
Must be checked and set afterward
Manual 3D modeling
Can be specified while modeling
Browser image conversion
May require mesh cleanup
Manual 3D modeling
Can be controlled part by part
Browser image conversion
Exploring a shape from one clear image
Manual 3D modeling
Producing geometry to a defined specification
The value of a browser-based starting point depends on what you intend to do with the resulting shape.
You have a drawing of a prop and want to examine its volume from other angles.
Use the output as a visual draft, then correct its silhouette against the drawing.
image to 3d model ai examples freeYou photographed an object and need a rough form for an early composition.
Check the proportions before rebuilding any parts that need precise dimensions.
multiple images to 3d modelYou want to turn a reference photo into something you can eventually fabricate.
Treat conversion as a starting mesh, not proof that the geometry is printable.
best image to 3d model ai for 3d printingA convincing preview is not the same as verified geometry. Rotate the result to catch invented backs, closed gaps, and distorted supports.
Illustrative comparison, not a verified conversion of the pictured chair. Inspect any generated model from all sides.
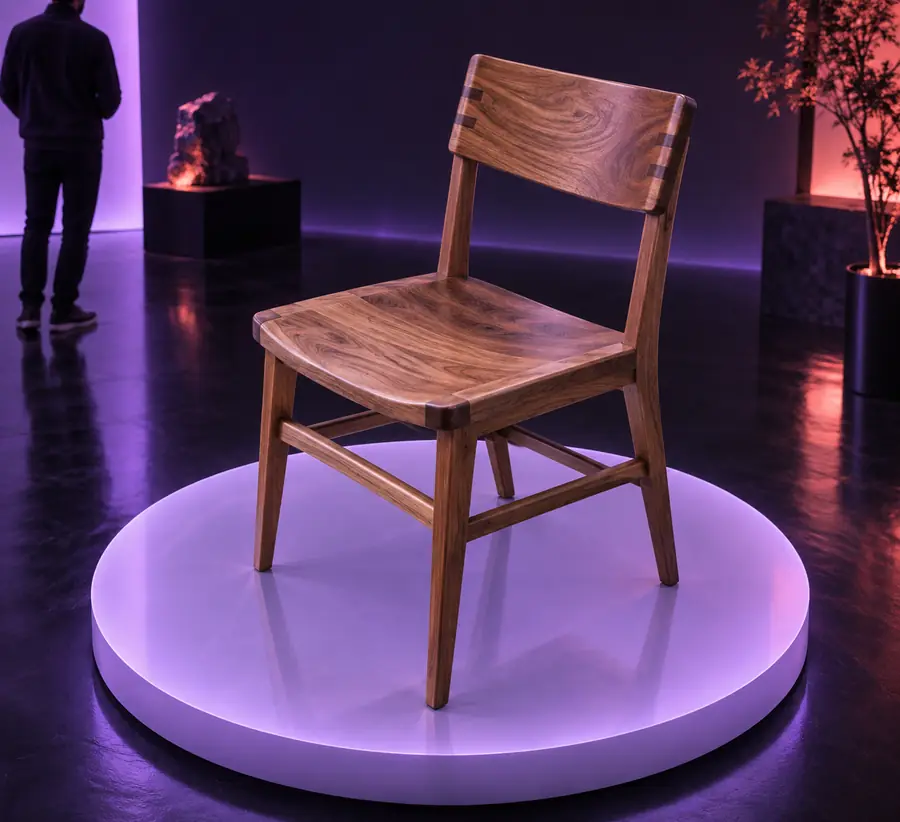
Choose a well-lit, unobstructed photo and describe the parts you need to preserve. Review the generated shape from several angles before using it in a larger project.
Convert my imageYes. A browser-based image-to-3D workflow can use your picture as a reference for a generated shape. The result is an interpretation, so rotate it and check areas the picture does not show.
Choose a sharp, well-lit picture that shows the whole object against a relatively simple background. A three-quarter view often provides more shape information than a straight-on view.
Not reliably from a single front-facing picture. The system has to infer hidden surfaces, which may be plausible but inaccurate. Use additional reference views when those surfaces matter.
Do not assume it is. Check scale, wall thickness, gaps, and mesh integrity in appropriate 3D software before attempting to print it. A good-looking preview alone cannot confirm printability.