Single-image workflow
Explore image to 3d model free conversion from one picture
Start with a clear image and use AI to draft a dimensional version of its main subject. Treat the result as a starting point: inspect the shape, then refine anything the picture could not show.
Choose the route that fits your starting point
A single picture is enough to explore a first shape. These related guides cover browser access, a guided workflow, and a different access concern.
Three mechanisms behind the first draft
An AI conversion estimates depth from visible clues; it does not recover a complete scan of an object from one view.
-
1
Isolate the subject
Choose a picture with a distinct silhouette and enough space around the object. A busy background can make it harder to tell which contours belong to the subject.
-
2
Infer the unseen volume
The model uses visible edges, shading, and familiar object patterns to propose depth. Its back and underside are educated guesses when those surfaces are absent from the reference.
-
3
Inspect the generated form
Rotate the preview and compare major proportions with the original. Look closely at thin parts, openings, and contact points before treating the draft as a usable asset.
Step-by-step choices: AI draft or manual modeling
The two approaches solve different parts of the job. A generated draft helps you explore form; manual work gives you direct control over exact geometry.
Single-image AI draft
Manual 3D modeling
Starting material
Single-image AI draft
A clear picture of the subject
Manual 3D modeling
Reference images, measurements, or a design brief
First step
Single-image AI draft
Select the picture and identify the main object
Manual 3D modeling
Build a base shape or block out its proportions
Depth
Single-image AI draft
Estimated where the image provides no view
Manual 3D modeling
Constructed according to your decisions
Hidden surfaces
Single-image AI draft
Require inspection and often correction
Manual 3D modeling
Can be designed deliberately
Fine details
Single-image AI draft
May merge, soften, or disappear
Manual 3D modeling
Can be placed and adjusted individually
Best next step
Single-image AI draft
Rotate the result and flag defects
Manual 3D modeling
Refine geometry against the intended use
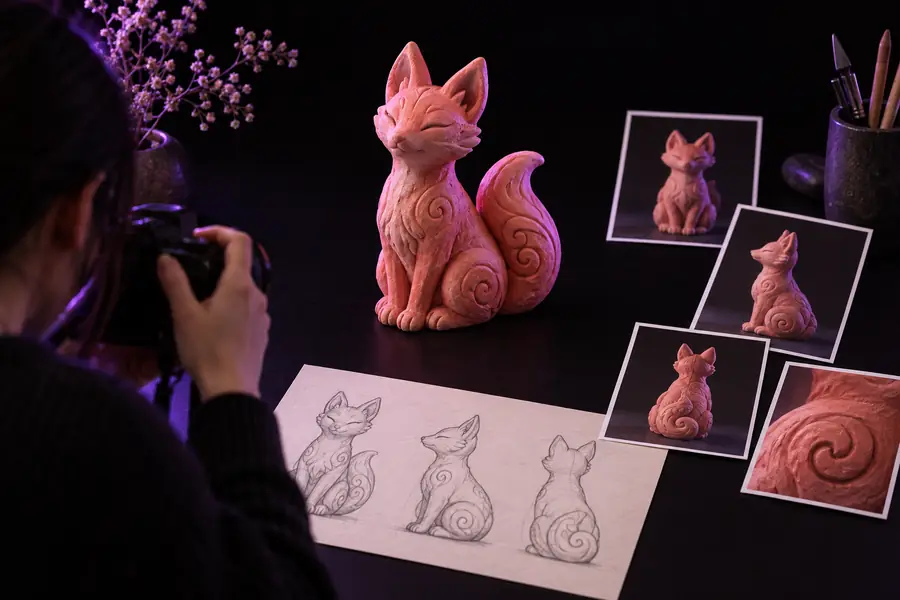
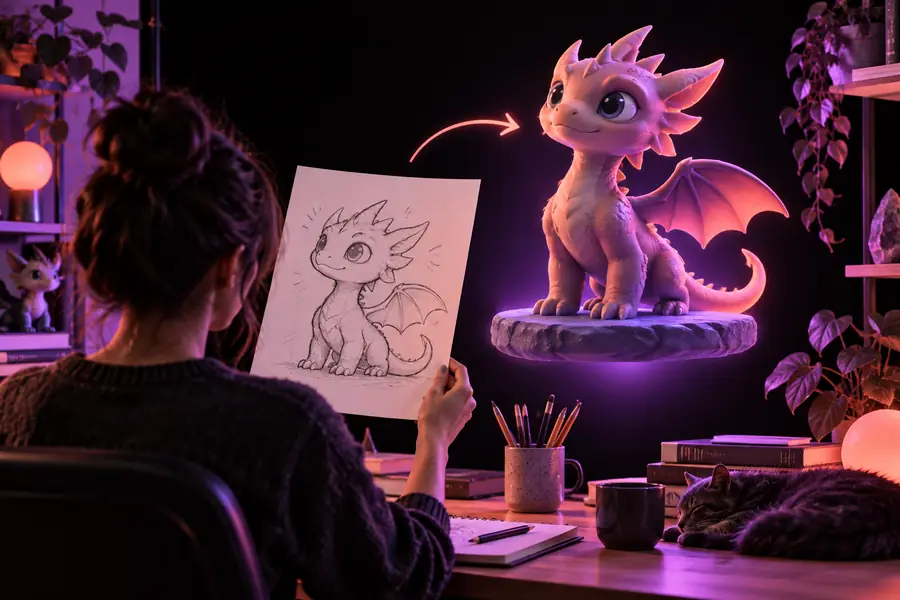
Compare the reference with an illustrative preview
Use a visual comparison to check silhouette and proportions, not to assume that every surface has been reconstructed accurately.
- Reference image
- Illustrative 3D preview
These images illustrate the before-and-after concept; they are not a verified output pair. Judge your own result by rotating it and checking surfaces the reference does not reveal.
Limits and edges to plan around
A free starting workflow can help you explore an idea, but a single-view draft should not be mistaken for measured, production-ready geometry.
-
It cannot see behind the subject
A front-facing picture supplies no reliable evidence for the back. The generated surface may be plausible without matching the real object.
WorkaroundUse additional views as references while correcting the model, or start with a multi-image workflow when accuracy matters.
-
It cannot guarantee clean topology
A convincing preview can still contain fused parts, uneven surfaces, or openings that do not connect as expected.
WorkaroundInspect the geometry in a 3D editor and repair problem areas before animation, fabrication, or close-up rendering.
-
It cannot preserve every small feature
Thin legs, transparent regions, text, and subtle surface details may be misread or simplified, especially in a low-contrast photo.
WorkaroundChoose a sharply lit reference with a simple background, then add critical details manually.
-
It cannot promise a print-ready object
A visible 3D shape is not necessarily closed, structurally sound, or sized for a printer.
WorkaroundCheck wall thickness, scale, and watertightness in suitable modeling or slicing software.
Continue when the first draft looks promising
Give your reference image a dimensional starting point
Choose a picture with a readable outline, describe the details that matter, and inspect the resulting shape from more than one angle. If the draft captures the idea, refine it for the job you actually need it to do.
Convert my image- Start with one clear subject
- Check hidden surfaces and thin parts
- Refine important details after generation
Questions about starting free
Yes, one clear view can provide enough visual information for an initial 3D draft. The result must estimate anything the picture does not show, so inspect its back, underside, and narrow features.
Choose an image with one recognizable subject, a clear outline, and lighting that separates it from the background. Avoid heavy occlusion if the hidden parts are important to the finished shape.
Not necessarily. A preview can communicate the shape while still needing corrections to geometry, detail, or scale. Check the result against your intended use before relying on it.
A generated draft may be a useful reference for a printable model, but visual quality alone does not establish printability. Check that the geometry is closed, correctly scaled, and strong enough for the intended material.