A multiple images to 3d model workflow uses several views of the same subject to clarify its shape. Start with a consistent front, side, and rear view, then check whether the tool accepts separate images or requires one combined reference.
The preparation is useful whether your chosen tool accepts several uploads or only one reference image.
1
Capture consistent views
Photograph the same object from distinct angles. Keep lighting, scale, and background as consistent as practical, and avoid swapping in a similar but different object.
2
Match the available input
If the tool supports separate reference uploads, add each view as directed. If it accepts one image, use the clearest view or a labeled contact sheet only if the tool handles collages well.
3
Inspect the result from all sides
Rotate the output and compare it with every source view. Look closely at depth, rear geometry, thin parts, and features that were hidden in the primary image.
From photo reference to model check
A polished preview is not proof that every angle matches. Use the source and generated view as the start of a closer inspection.
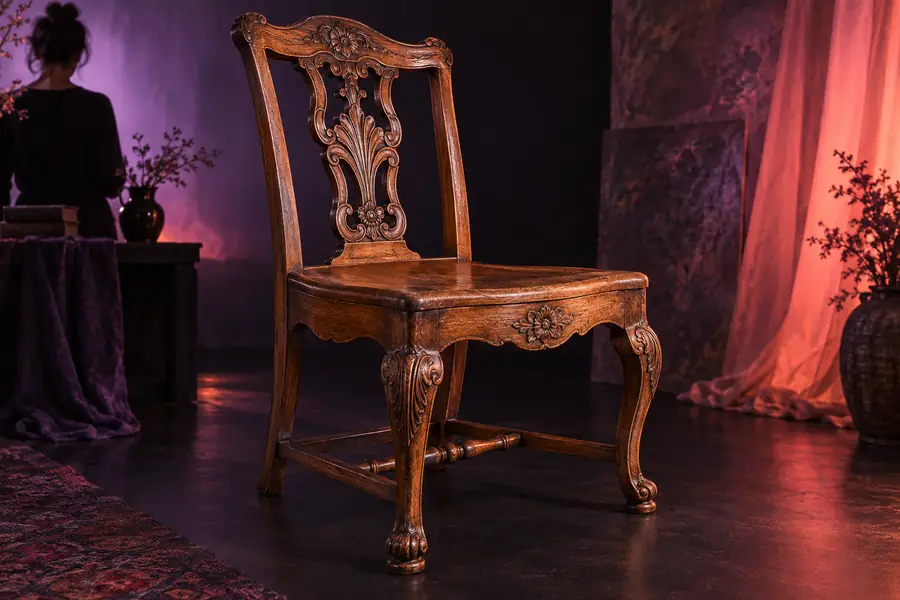
Source reference
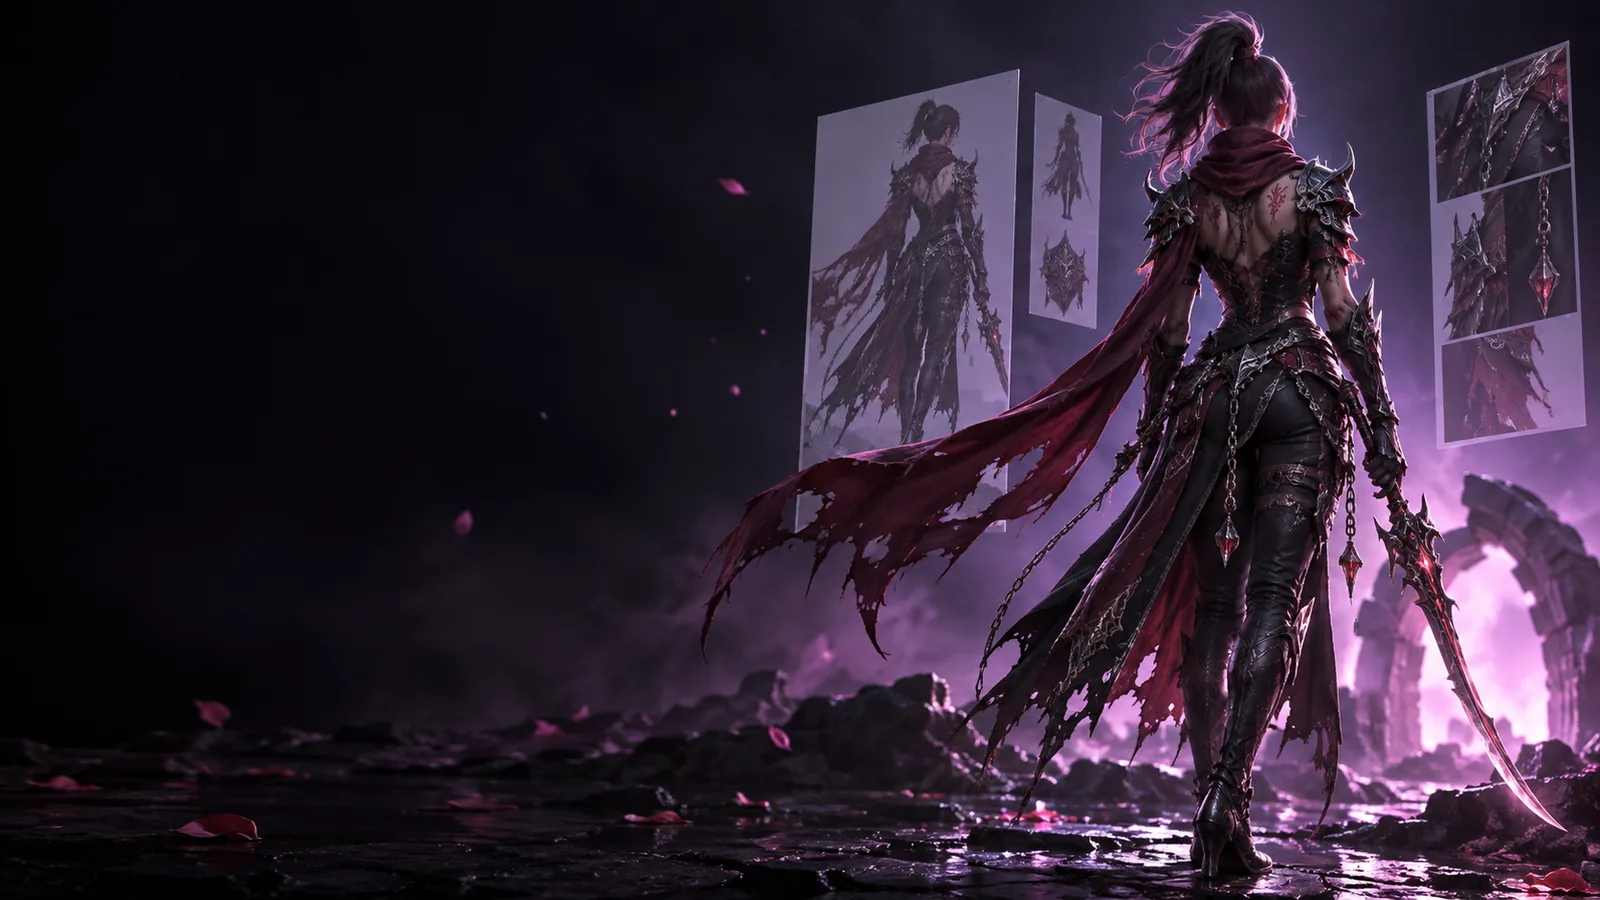
3D workflow illustration
The pair illustrates what to compare; it does not establish that the illustrated output was reconstructed from this exact photograph.
Reference-view specification table
These are differences in the information you provide, not guarantees about what an AI tool will reconstruct.
Single reference photo
Several consistent views
1
Visible silhouette
Single reference photo
One camera angle
Several consistent views
Silhouettes from more than one angle
2
Depth clues
Single reference photo
Often inferred from perspective
Several consistent views
Easier to compare against a side view
3
Rear details
Single reference photo
Usually unseen
Several consistent views
Visible when a rear reference is included
4
Input preparation
Single reference photo
Choose and crop one clear image
Several consistent views
Align views and keep the subject consistent
5
Tool compatibility
Single reference photo
Uses a standard image input
Several consistent views
Requires multi-image support or a suitable single-image arrangement
6
Result review
Single reference photo
Compare against the supplied angle
Several consistent views
Rotate and compare against each supplied angle
7
Hidden geometry
Single reference photo
Must be estimated
Several consistent views
Still must be estimated wherever no view shows it
What extra views cannot fix
No automatic multi-image support
Some image-to-3D tools accept only one uploaded picture. Providing several files does not make such a tool combine them.
WorkaroundCheck the input controls first; choose the clearest single view or test a labeled contact sheet if appropriate.
Contradictory references
Different objects, changing proportions, or inconsistent edits can confuse the intended shape.
WorkaroundUse photographs of the same subject and remove views that contradict the others.
Guaranteed hidden surfaces
Even several photographs leave undersides, cavities, and occluded connections unknown.
WorkaroundCapture the missing area when possible and plan to correct remaining geometry manually.
Print-ready geometry
A visually plausible model may still contain holes, thin walls, or disconnected parts.
WorkaroundInspect and repair the mesh in a 3D editor before preparing it for printing.
Put your references to work
Start with the views you trust
Choose one clear subject, prepare consistent angles, and describe the details the model must retain. Then check the available image inputs and inspect the result from every side.
You can use several photos as references if your chosen tool supports multi-image input. If it accepts only one image, select the most informative view or test a contact sheet, then inspect the result carefully.
Start with front, side, and rear views of the same object. Add an elevated or underside view when those surfaces contain important features, and keep the subject's scale and lighting reasonably consistent.
No. Clear, consistent views can resolve ambiguity, but blurry or contradictory images may make the intended shape harder to interpret. The tool must also be able to use the additional input.
Begin with the clearest view that shows the object's defining shape. A labeled arrangement of several views may help in some single-image workflows, but test the result rather than assuming the tool understands it as separate camera angles.
Not necessarily. Image-based generation can produce a useful visual starting point, but printing also requires suitable wall thickness, connected geometry, and a sound mesh. Check and repair those properties before printing.