Indie character artist
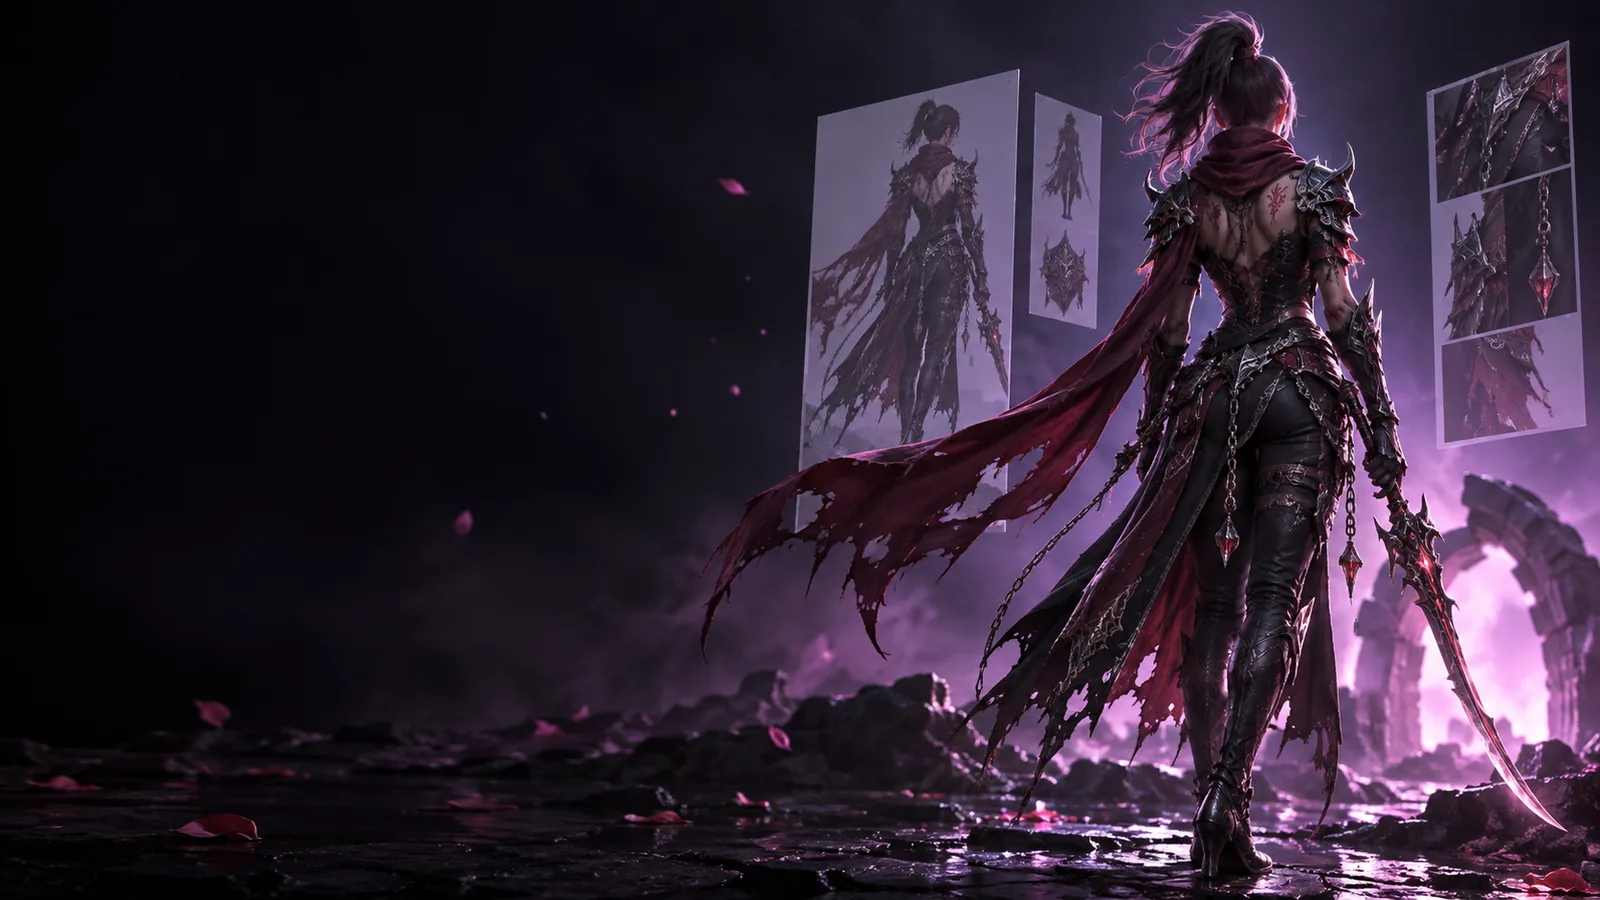
A clear creature sketch establishes a recognizable pose, but its tail and clothing are obscured from behind.
Create an early form study, then gather another view before refining the hidden features.
multiple images to 3d modelExample gallery
A flat picture shows only one side of an object. These image to 3d model ai examples free to explore show how to choose a useful reference, describe the result you want, and check the generated shape before relying on it.
A front-facing preview may look right while the back, underside, or thin details remain uncertain. Start with the kind of result you need, not just the image you like.
An image to 3d model ai tool estimates unseen geometry; it does not recover facts that the source picture never captured.
A chair photographed from the front does not reveal the backrest thickness or the joints behind it. A plausible preview may therefore contain inaccurate rear geometry.
WorkaroundSupply side and rear views when available, then inspect the model from every angle.
Thin handles, fingers, wires, and decorative cutouts can become thick blobs or disappear, especially against a busy background.
WorkaroundUse a sharp, evenly lit image with a clear silhouette and simplify the requested detail.
An attractive example says little about wall thickness, watertightness, scale, or whether separate parts intersect.
WorkaroundInspect the mesh in appropriate editing or slicing software before attempting fabrication.
Perspective and lens distortion make measurements from one picture unreliable. The generated model should not be treated as a dimensionally accurate replica.
WorkaroundMeasure the real object and adjust scale and proportions in a 3D editor.
These examples use different source images, but each follows the same rule: make the object easy to identify and state which features matter most.
Choose a full-body drawing with separated arms and legs. Ask for a stylized 3D character that preserves the hat, pose, and broad color regions; inspect the back and hands rather than judging only the first preview.
Use a clear photo of a camera or bottle against a plain background. Name the lens, cap, handle, or label area in your request, then rotate the output to see whether those parts remain distinct.
Start with a three-quarter view of a wooden chair. Request a simple concept with a solid seat, separate legs, and a visible backrest; compare its side view with your reference before refining the shape.
The same chair reference can support a quick visual study or a model intended for further editing. The checks below differ because the goals differ.
Visual concept
Editable or printable mesh
Visual concept
Communicate the chair's overall form and style.
Editable or printable mesh
Provide geometry that can be inspected, changed, or prepared for fabrication.
Visual concept
A clean three-quarter photo may be enough for an initial exploration.
Editable or printable mesh
Front, side, and rear views reduce ambiguity around structure.
Visual concept
Compare silhouette, proportions, and visible features.
Editable or printable mesh
Check those features plus the back, underside, and connections.
Visual concept
Minor distortions may be acceptable in a distant preview.
Editable or printable mesh
Legs and rails need sufficient thickness for the intended use.
Visual concept
A pleasing shaded appearance is useful for presentation.
Editable or printable mesh
Surface continuity and problematic intersections need direct inspection.
Visual concept
Try another reference or revise the description.
Editable or printable mesh
Edit the mesh, set dimensions, and run the relevant validation checks.
Use image to 3d model ai examples as starting points for a project, not as promises that every photograph will yield a finished asset.
A clear creature sketch establishes a recognizable pose, but its tail and clothing are obscured from behind.
Create an early form study, then gather another view before refining the hidden features.
multiple images to 3d modelA drawing of a simple animal figurine becomes a concept for a hands-on lesson.
Review stability and mesh integrity before treating the concept as a fabrication candidate.
best image to 3d model ai for 3d printingA clean bottle photograph provides a quick way to explore its body, neck, and cap in three dimensions.
Use the first result to assess proportions, then follow a repeatable conversion workflow for revisions.
how to use image to 3d model ai freeYour own photograph or original drawing is the clearest place to start. If an image includes someone else's artwork, a brand mark, or an identifiable person, check the relevant permissions before publishing or reusing the generated result. Image To 3d can help you explore a shape, but generation does not grant rights to its source image or verify that an output is safe for a particular use.
Try your imageStart with one isolated object photographed in even light against a simple background. A three-quarter view shows more depth than a straight-on view, while a sharp outline helps you judge whether the generated silhouette is close.
No. The unseen sides must be estimated, so the result may look convincing from the reference angle but differ elsewhere. Add other views when accuracy matters and rotate the output to check what was inferred.
They can be useful starting points, but a good-looking preview does not establish print readiness. Check scale, wall thickness, connected parts, and mesh integrity in tools suited to your printer and material.
Try a clearer reference and name the missing feature in your description, such as a separate handle or four distinct legs. If the feature is hidden in the original image, provide another view rather than asking the model to infer it repeatedly.
That depends on your permission to use the source and the context in which you share the result. Use your own work or properly licensed references when possible; generation alone does not resolve copyright, trademark, or likeness concerns.