Image to 3D Model AI: Turn an iPhone USDZ Scan Into STL
Learn how to use image to 3d model ai tools to convert an iPhone USDZ scan into a printable STL, check units and orientation, and set a practical scale.
For readers exploring image to 3d model ai, this guide explains the next step after capturing a model: converting an iPhone USDZ scan into a correctly scaled, Z-up STL ready for slicing.
An iPhone scan may look correct in AR but still need unit, orientation, and base checks before printing. This workflow turns the scan into a millimetre-based STL, scales it for the printer, and gives you a sensible starting point in the slicer.
The short version
- Open the scan in the USDZ to STL converter, which reads Apple’s binary files and displays the converted dimensions.
- Compare Output size with your printer’s build volume. USDZ uses metres; STL has no unit label and is normally interpreted as millimetres.
- Enter a scale factor or choose the 100 mm height option when the full-size scan is too large.
- Keep Z-up for printing and Binary selected, then export the centred STL.
What you need before converting
Start with a self-contained .usdz file from an iPhone scanning app, Object Capture, or Reality Composer. Apple-created files commonly use the binary USD form, while other tools may produce text USD. The converter handles both.
The useful part of USDZ is that it records real-world scale. That is helpful when converting, but it can produce a surprisingly large print. A chair recorded as 1.2 metres tall becomes 1,200 mm in the converted output. A small toy can arrive at a sensible size without any manual measurement.
Decide what the print should represent before you open the file. A full-size scan may need to become a miniature, while a scan of a small object may only require a quick dimension check. The browser converter is free, requires no sign-up, and processes the file on your device rather than uploading it.
Step 1: Open the USDZ scan
Drop the .usdz file onto the page or select Try a sample. After it loads, the preview shows the model, its textures, and a triangle count.
Apple’s binary packages may take slightly longer to open the first time. The browser fetches an approximately 450 KB USD reader for that format. If the reader fails to load, check the connection and try again. If the file itself fails, export the scan again from the original app.
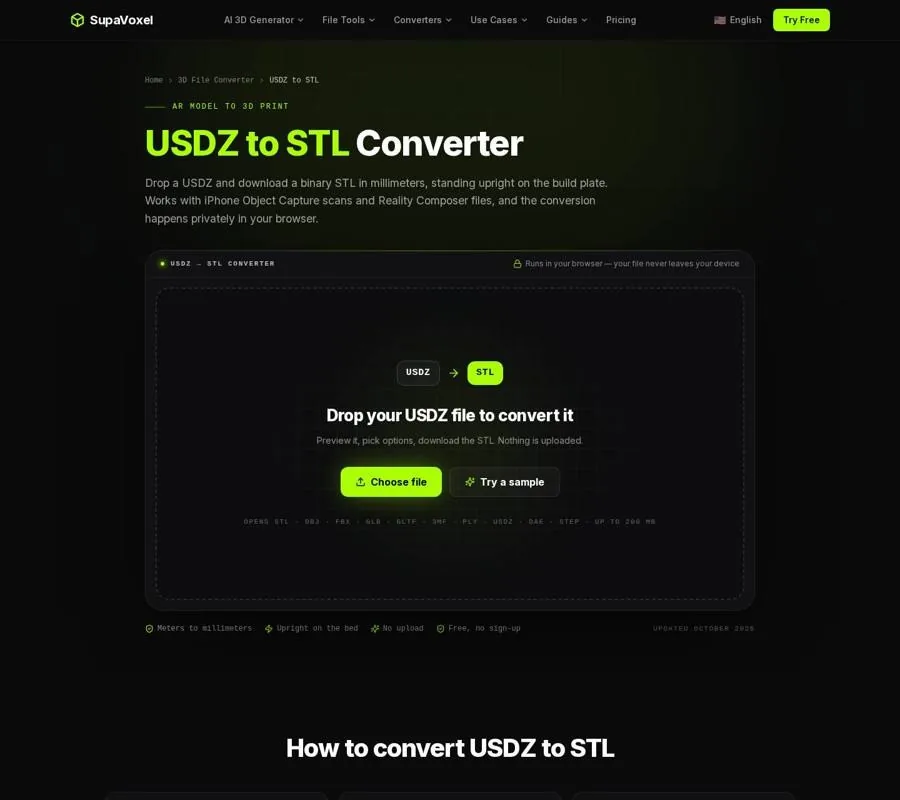
The conversion page displays the imported scan, its dimensions, and the controls used to prepare the STL.
Use the preview for a basic sanity check:
- Is the whole object present?
- Is it facing a useful direction?
- Are handles, leaves, or other narrow parts visible?
- Does the displayed size make sense?
This is not a substitute for a slicer preview. It simply confirms that the right file opened and that the scene is not obviously incomplete or misoriented.
Step 2: Read the real-world size
Check Output size before changing anything. The converter reads the USDZ scale metadata and changes the metre values into millimetres for the STL.
That matters because STL does not carry a built-in unit declaration. Slicers generally assume that a coordinate of 25 means 25 mm. Without the conversion, a metre-based scan can appear 1,000 times too small or too large depending on the software path used.
A 12 cm scan should therefore show 120 mm. A 25 cm vase should show 250 mm. These are the dimensions of the original object, not a promise that the object will fit your printer.
Compare the output with the machine’s available width, depth, and height. If only one dimension is too large, scaling before export is usually cleaner than correcting the size after importing the STL.
Step 3: Scale the scan for the build plate
Use the Scale input when you know the desired reduction. For a 1:10 copy, enter 0.1. The displayed dimensions change so you can verify the result before downloading.
When the page presents a size warning, its 100 mm height option provides a straightforward smaller target. This is useful when the original dimensions are not important or when you want a manageable first copy. You can also type your own factor instead of using that preset.
Scaling deserves a second inspection after the number is set. Look at the thinnest handles, straps, fingers, leaves, and similar features. The page identifies 1 mm as a practical minimum for thin sections, though the actual result still depends on the printer, nozzle, material, and feature orientation.
Reduction changes more than the overall footprint. Surface noise becomes more concentrated on a miniature, while small details may vanish. Rotate the preview and decide which forms must survive physically rather than judging only from the textured AR appearance.
Step 4: Export an upright binary STL
Leave Z-up for printing enabled. The conversion changes the scene to the orientation expected by most slicers, centres the object, and puts its lowest point on the z = 0 plane. The exported file should therefore begin on the build plate in Cura, PrusaSlicer, Bambu Studio, or another slicer.
Keep Binary selected and press Convert to STL. The result contains the surface geometry as triangles. If the USDZ has several separate meshes, the conversion combines them into one printable result.
STL carries shape, not appearance. Textures, materials, UV coordinates, and animation do not come through. A painted label, wood grain, or colour pattern visible in AR will not become colour on an ordinary STL print. An animated file is written in its static pose.
This is also why a scan can look finished in AR but still need print preparation. The camera may have captured the visible sides while missing the underside, and the surface may contain thin or open areas that are harmless for viewing but troublesome for slicing.
Step 5: Check a heavy scan before slicing
Object Capture and photogrammetry scans can contain dense geometry that adds handling work without improving the physical print. If the converted scan exceeds 500,000 triangles, reduce it with the mesh simplifier before opening it in the slicer.
The tool accepts STL and several other model formats, with files up to 200 MB. For a print, use a custom triangle target rather than assuming that the Roblox, VRChat, or Web/AR presets suit the object. Compare the original and reduced previews, then download the simplified result as STL.
Reduction removes surface triangles; it does not seal gaps, fix reversed faces, or flatten a bad base. Keep the original USDZ and STL so you can return to the detailed version if the smaller mesh loses an important feature.
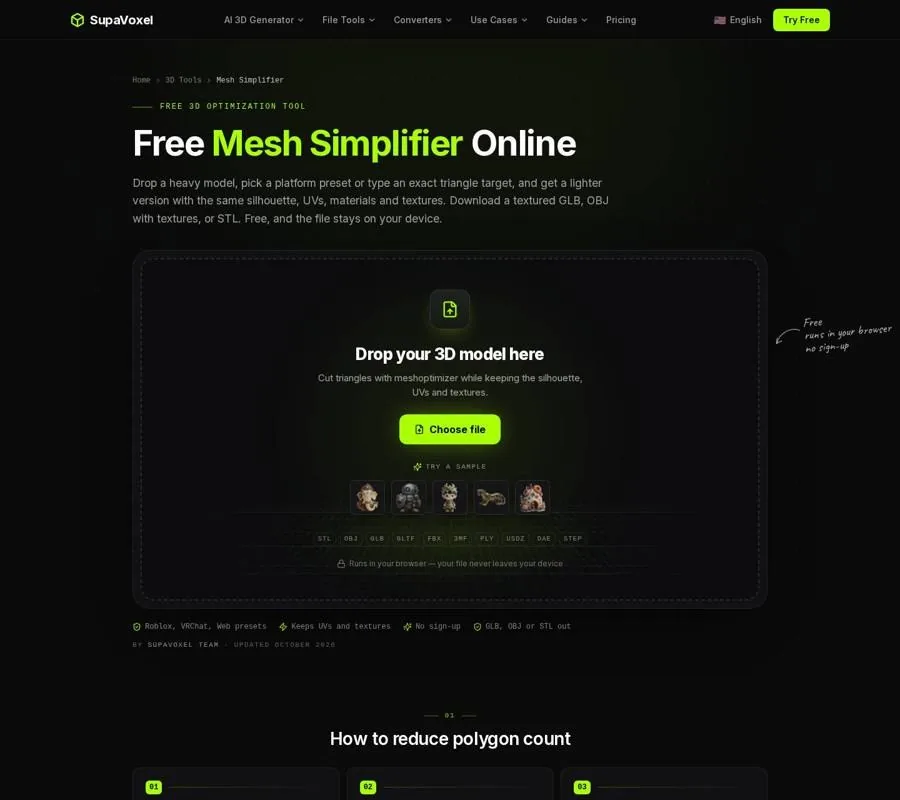
The Mesh Simplifier lets you compare the original mesh with the reduced version before exporting a lighter STL.
When OBJ is the better conversion
STL is appropriate when the next stop is the slicer. Choose the USDZ to OBJ converter when you need to edit the scan in Blender, Maya, ZBrush, or Substance first.
That workflow packages an OBJ with its MTL file and PNG textures. Mesh parts and UV coordinates remain available, and the diffuse colour image plus normal map can follow the model into an editing application. Unzip the package without separating the OBJ from its MTL and image files.
OBJ does not preserve every USDZ material property. Roughness, metalness, and ambient-occlusion maps are left out because classic MTL has no equivalent PBR slots. Animation also becomes a static mesh.
For direct printing, OBJ adds an unnecessary intermediate step. For repairing the scan, repainting it, changing its pose, or preparing a more substantial edit, it retains information that STL intentionally discards.
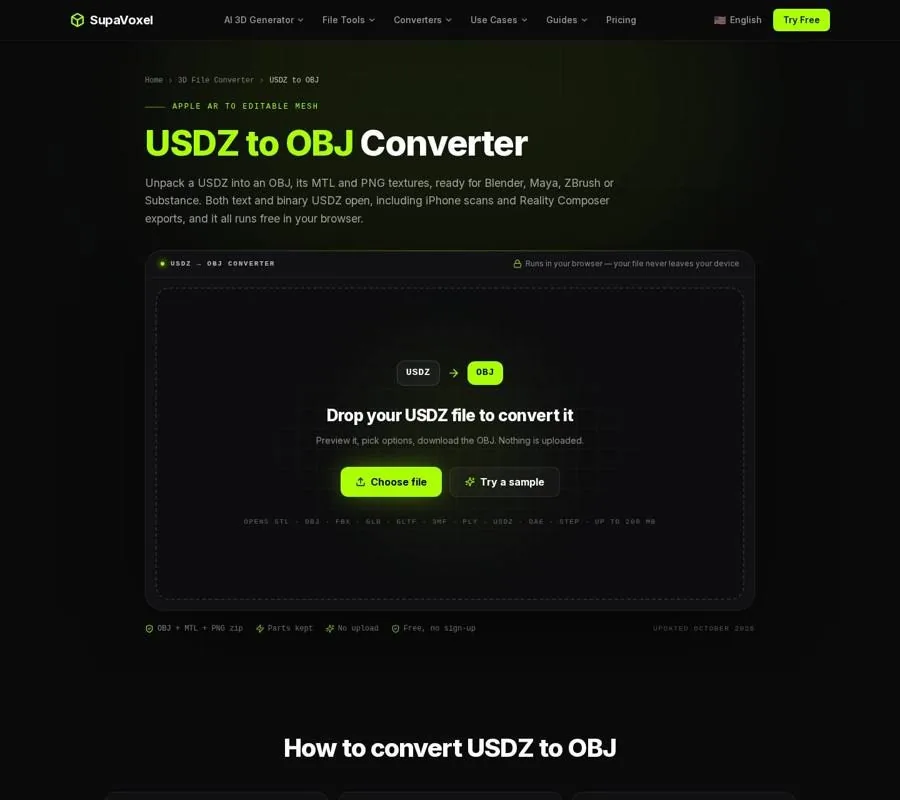
The USDZ to OBJ page is aimed at keeping separate mesh parts, UVs, and selected textures for editing.
Final slicer check
Open the downloaded binary STL and compare its dimensions with the value you selected in Output size. It should stand upright, touch the bed, and have a footprint that fits the printer.
Inspect the base, narrow features, and overhangs in the slicer preview. Correct conversion does not guarantee a closed scan or a stable contact patch. If the underside is open, repair or flatten it before committing to a long print.
At this point, the file conversion is complete: the original metre scale has become millimetres, the model has been resized if necessary, and the STL has been exported in a printer-friendly orientation.
FAQ
Can the converter read an iPhone Object Capture scan?
Yes. Object Capture, Reality Composer, and many iPhone scanning tools save their scenes as binary USDZ, and this converter can open that variant. The required USD reader is downloaded when it is first needed.
Does the exported STL keep the scan’s real-world size?
Usually, yes. The conversion applies the metre scale recorded in USDZ and writes the corresponding millimetre coordinates into the STL. Type a reduction factor in Scale, or choose the page option that sets the model to 100 mm high, when the original object will not fit the printer.
Does the STL keep the scan’s colors?
No. STL stores the surface shape only, so colours, textures, materials, and animation are removed. Use the OBJ route when you need the colour image and normal map for editing before making a print file.
Want to try it yourself?
Try Supavoxel →More from the blog
Image to 3D Model AI: ChatGPT and OpenSCAD for Printable Parts
This image to 3d model ai guide shows how to use ChatGPT and OpenSCAD for simple printable wall hook: set dimensions, preview, fix errors, inspect the STL.
Image to 3D Model AI: Fixing Seamless Texture Generator Repeats
Using image to 3d model ai? This guide shows how to tell a texture seam from normal repetition and fix gradients, lighting, and weak source photos.